

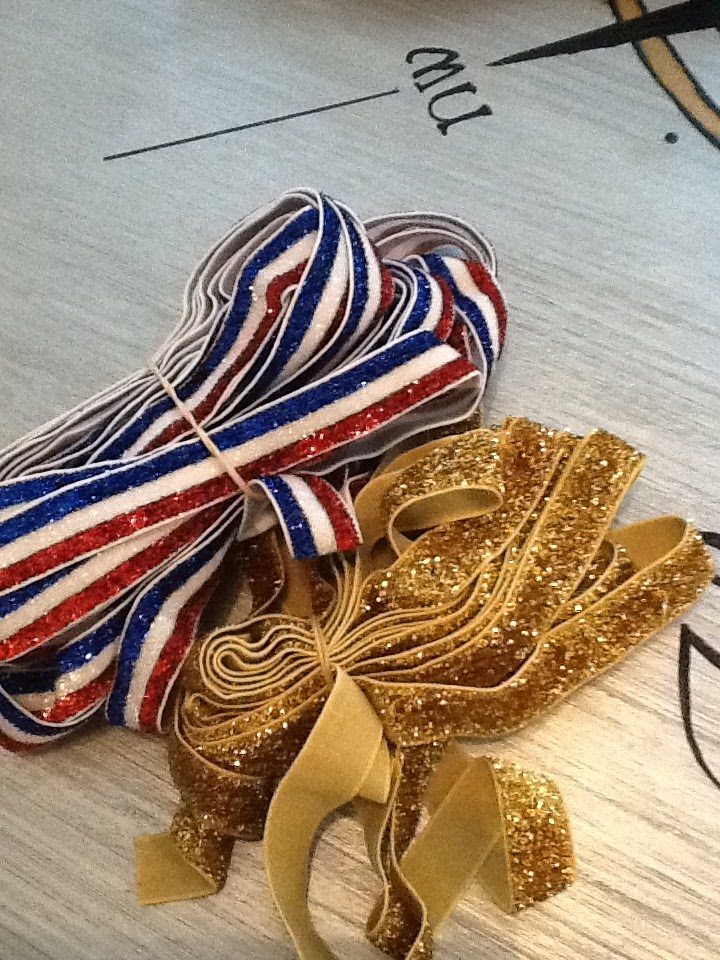
Well, being one that loves a DIY here and there I sought out this mystical elastic fabric and scored big while looking on Etsy. Apparently you can purchase 15 feet for $4.75-7.00!! Bring it on elastic hair ties. I saw the red/white/blue which happens to be close to our school colors and thought it would be cute to make them for my JV team. Bribing is a good coaching method right?
And this is why you get a tutorial on how to make your own Emi Jay elastic hair ties.
First of all, I purchased my elastic from Fleuriste on Etsy. They have tons of colors to choose from and cheap/fast shipping. Hearts all across the board. Once it arrived I tried to find instructions on Pinterest on how to make these seemingly simple accessories and after following one blog's directions I ended up with a hair tie that would fit a toddler. #DIYfail
Sooo, here's how I made them!!
I found that 9 inches total (including the extra length to make your knot) made a good sized hair tie that fit nicely around your wrist.
1. Double up your elastic and measure 4.5 inches.
2. Take sharp scissors and cut the longer piece at an angle to match at 4.5 inches.
3. Keeping the inside (non-glittery side) touching the other inside make a knot close to the ends.
4. You want to make sure there is still a long enough tail on the end to keep the knot in place.
5. I like to stretch the knot to make sure that it is tight and also try it on after I knotted to make sure it was the right size.
6. Clean up the ends with your scissors (just barely cut off any fray) and then take clear nail polish and brush a little bit on the ends.

Here's what the finished product should look like... not too tight or loose on the wrist.

Voila, my school inspired hair ties. I put each of the ties on a card with an inspiring quote for my girls. I bought about 15 yards of elastic (total of about $22 bucks with shipping) and ended up with about 55 hair ties and 2 head bands. Not too shabby.


I think they were a hit!!!

No comments:
Post a Comment